Why Setting Up Laravel on Windows Is Always a Headache
If you've ever tried setting up Laravel on Windows, you know the frustration — download XAMPP, wrestle with ports, fight PHP version mismatches, and hope MySQL actually starts. It wastes hours that should be spent writing code.
In 2026, there's a better way: Larastack.
Larastack is a free, zero-config local PHP & MySQL development server built exclusively for Windows. One download, one click — PHP 8.2 and MySQL 8.0 running in under 2 seconds. No admin rights required, no configuration files to edit, no conflicts with other software.
This guide walks you through installing Laravel on Windows using Larastack in under 2 minutes.
What Is Larastack?
Larastack is a lightweight Windows application that bundles PHP 8.2, MySQL 8.0, and phpMyAdmin into a single portable package. Unlike XAMPP or WAMP, it requires zero system-level installation and uses only ~45 MB of RAM at idle.
Key features:
- PHP 8.2 with JIT and all essential extensions pre-enabled
- MySQL 8.0 with phpMyAdmin pre-configured
- Real-time log console for instant debugging
- Starts in under 2 seconds
- 100% offline — no telemetry, no internet required after setup
- Free forever
Prerequisites
Before you begin, make sure you have:
- Windows 10 or Windows 11 (64-bit)
- Composer installed (getcomposer.org)
- Larastack downloaded from larastack.click/download (~28 MB)
Step 1: Download and Extract Larastack
Visit larastack.click/download and grab the free installer. No registration, no email — just download.
Unzip the folder anywhere on your machine: your Desktop, C:\Dev, or any folder you prefer. No system installation or admin rights needed.
Step 2: Launch the Servers
Open the Larastack folder and launch the control panel. Click the Start All button. Within 2 seconds, you'll see the live log confirm:
- PHP 8.2.x started on port 8084
- MySQL 8.0.x started on port 3306
- phpMyAdmin ready at localhost/phpmyadmin
Step 3: Create Your Laravel Project
Open Command Prompt or PowerShell and run:
composer create-project laravel/laravel myapp
cd myapp
Step 4: Configure Your .env File
Open the .env file in your Laravel project root and update the database connection settings:
DB_CONNECTION=mysql DB_HOST=127.0.0.1 DB_PORT=3308 DB_DATABASE=myapp DB_USERNAME=root DB_PASSWORD=
Important: Larastack uses port 3308 by default to avoid conflicts with any existing MySQL installations on your system.
Step 5: Create the Database
Open phpMyAdmin at http://localhost:8084/phpmyadmin. Log in as root with no password. Click New in the left panel, create a database called myapp, and click Create.
Step 6: Run Migrations and Serve
php artisan migrate
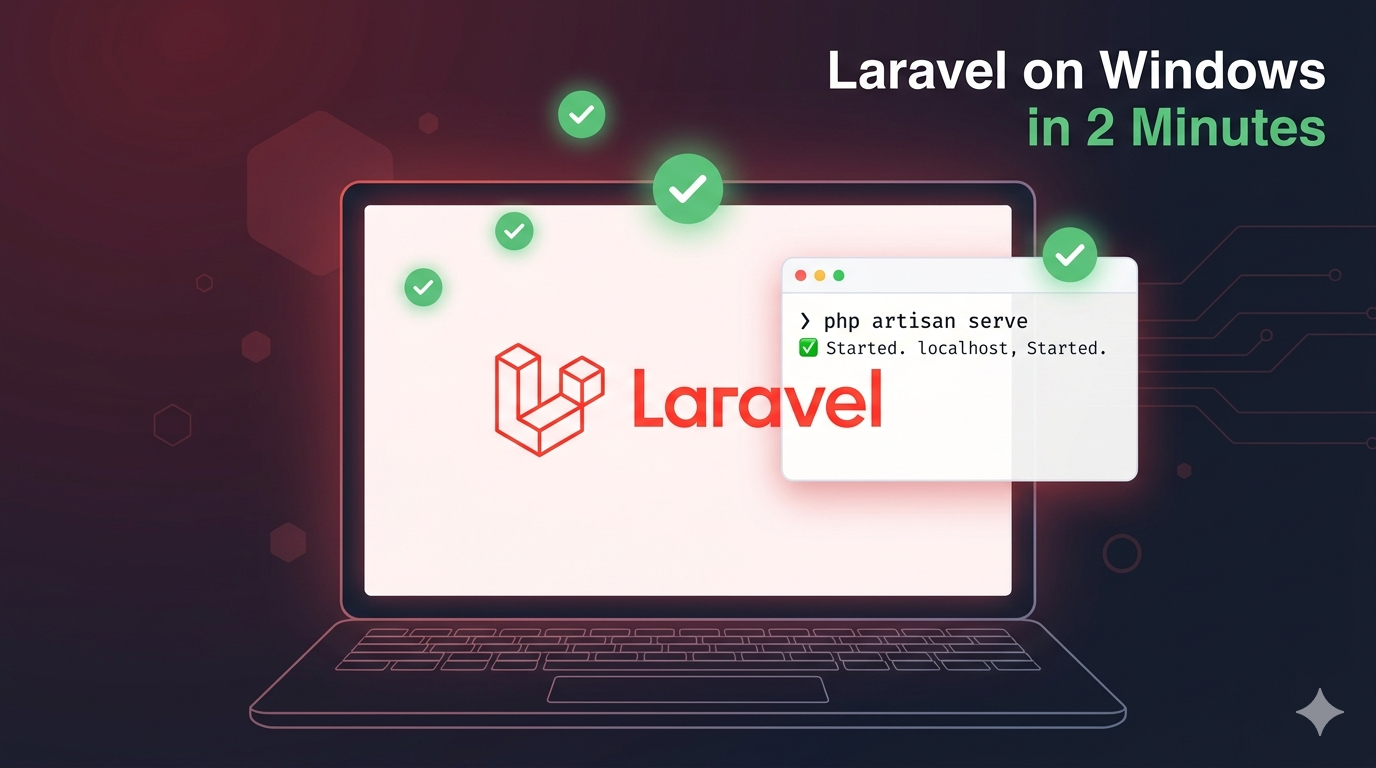
php artisan serve --port=8000
Visit http://localhost:8000 in your browser. Your Laravel application is live and running locally.
Larastack vs XAMPP for Laravel Development
| Feature | Larastack | XAMPP |
|---|---|---|
| Startup Time | Under 2 seconds | ~8 seconds |
| RAM Usage (idle) | ~45 MB | ~200 MB |
| Zero Configuration | Yes | No |
| PHP 8.2 Ready | Yes | Yes |
| No Admin Rights | Yes | No |
| Port Conflicts | None | Common |
Frequently Asked Questions
Does Larastack work with Laravel 11? Yes. Larastack runs PHP 8.2 which fully supports Laravel 11 and Laravel 12.
Can I run multiple Laravel projects with Larastack? Yes. Use PHP's built-in server on different ports for each project simultaneously.
Is Larastack really free? Yes — completely free, no premium tier, no ads, no registration required.
Start Building Laravel Apps on Windows Today
Larastack removes every obstacle between you and your first line of Laravel code. Download it free at larastack.click and go from zero to a running Laravel app in under 2 minutes.